.jpeg)
Imagine you’re shopping online while traveling. You see something you like, but the price is in a money system you don’t recognize. At the same time, the date looks strange, and the checkout form asks for things like a zip code that doesn’t even exist where you live.
Let’s be honest, most of us would just close the tab and move on.
That little moment of confusion? It happens to millions of people every single day when they land on websites that only work in one language.
The good news: this is exactly what localization solves, and it’s about way more than just translating words.
Website localization lets people browse, shop, and interact with a site in their own language. It doesn’t just make the experience smoother, it builds trust, opens up new markets, and helps turn casual visitors into paying customers.
And here’s the best part: compared to many other growth strategies, localization can be a cost-effective way to expand your reach, depending on factors like content volume, target markets, and the tools you use.
Let’s break down why it works so well.
What Is Website Localization?
Website localization is making your site feel local for every visitor. Think images, currency, dates, payment options, and even those little error messages. All of it gets tuned so the site feels like it was built right where your visitors are.
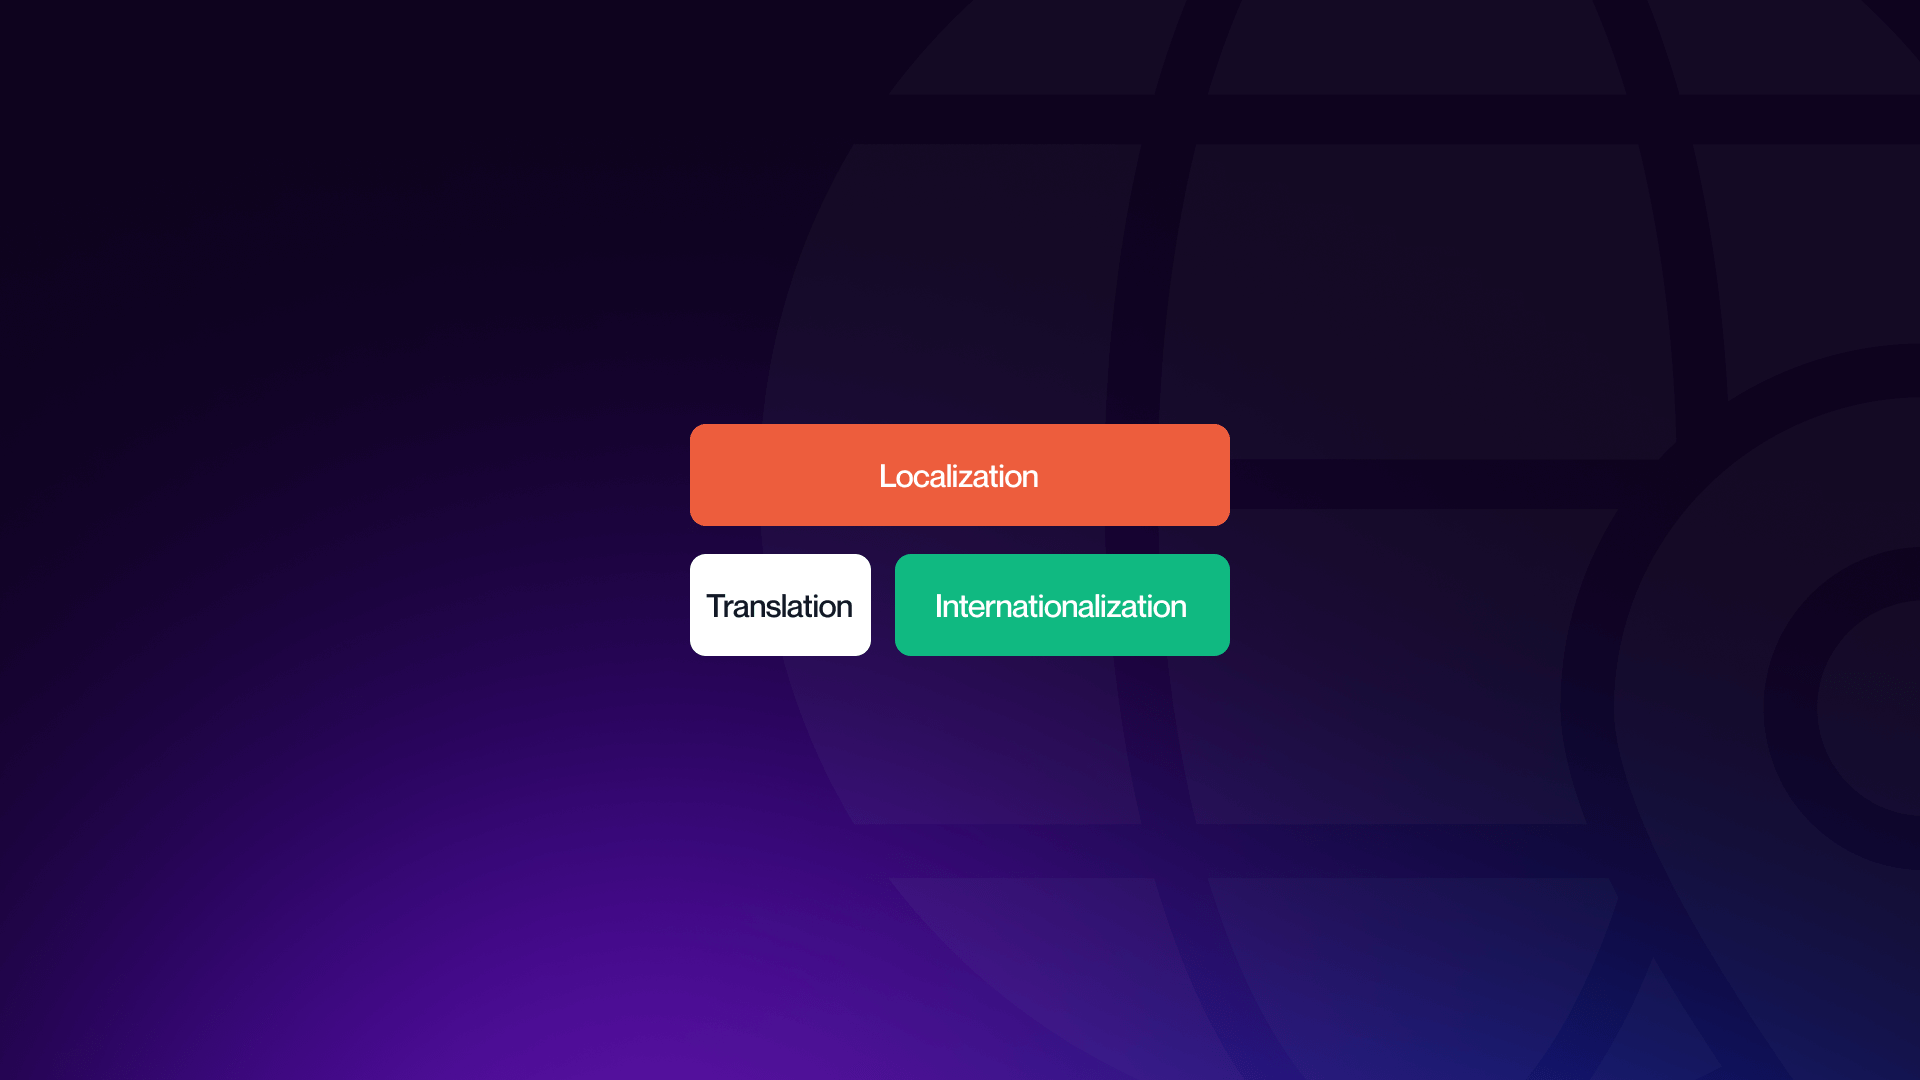
Website Localization vs Translation
So, what’s the difference between localization and translation?
Translation just swaps out the words. Localization goes a step further and makes the whole experience feel like the site was built for that country, right down to the checkout flow and date format. Even if the words are perfect, a site can still feel awkward if those details don’t match what local users expect.
Localization vs Internationalization
And then there’s internationalization, which sounds similar, but isn’t quite the same thing.
Internationalization is the behind-the-scenes prep work that makes sure your website can support any language without breaking, like handling right-to-left text or special characters.
Localization is where the magic happens: adding the right words, and tailoring everything so it feels natural for local users. Localization also often affects layouts, so keeping up with popular web design trends helps you spot patterns that work globally and adapt faster.
Examples of Good Localization
- Netflix changes the cover art depending on your country.
- McDonald’s tweaks the menu itself, not just the names.
- Airbnb shows prices in your local currency and formats dates the way you’re used to.
- Spotify suggests music and playlists that are popular where you are.
- Apple adjusts images and promotions to match local holidays or shopping habits.
Key Benefits of Website Localization
Once you see the numbers, the upside of localization is hard to ignore. It’s one of those rare strategies that’s good for both users and your bottom line:
- Reach: You can use the same site for different countries without rebuilding it. More people stick around instead of leaving.
- Trust: A site that speaks their language and looks familiar feels legit.
- Experience: Visitors don’t have to guess what buttons do or how to pay, so they stay longer.
- Sales: A smooth, familiar checkout means fewer abandoned carts. Localized buttons and messages usually convert better.
- SEO: Search engines like localized content. Using proper hreflang tags and local keywords is essential, and our Webflow SEO agency can help you implement these strategies to ensure your content shows up for the right audience.


What Needs to Be Localized?
So, how do you actually make a site feel local? It comes down to sweating the details. A site can look perfect in one country but feel slightly “off” somewhere else, and users notice right away.
Here’s what usually needs attention:
- Text: Product descriptions, blogs, menus, buttons, and error messages.
- Images: Show local people and places, and avoid graphics with jokes or symbols that don’t make sense in that culture.
- Formats: Dates, times, numbers, and prices should look familiar.
- Payments: Offer local payment options, like iDEAL in the Netherlands or UPI in India.
- Layout: Make sure text fits without breaking the design and support right-to-left languages if needed.
- Legal stuff: Privacy policies, cookie banners, and disclaimers should follow local laws.
- Metadata: Page titles, descriptions, and keywords should help local users find the site.
- Backend: Things like search filters, CMS content, emails, and alerts should all work for the local audience.
10-Step Website Localization Process
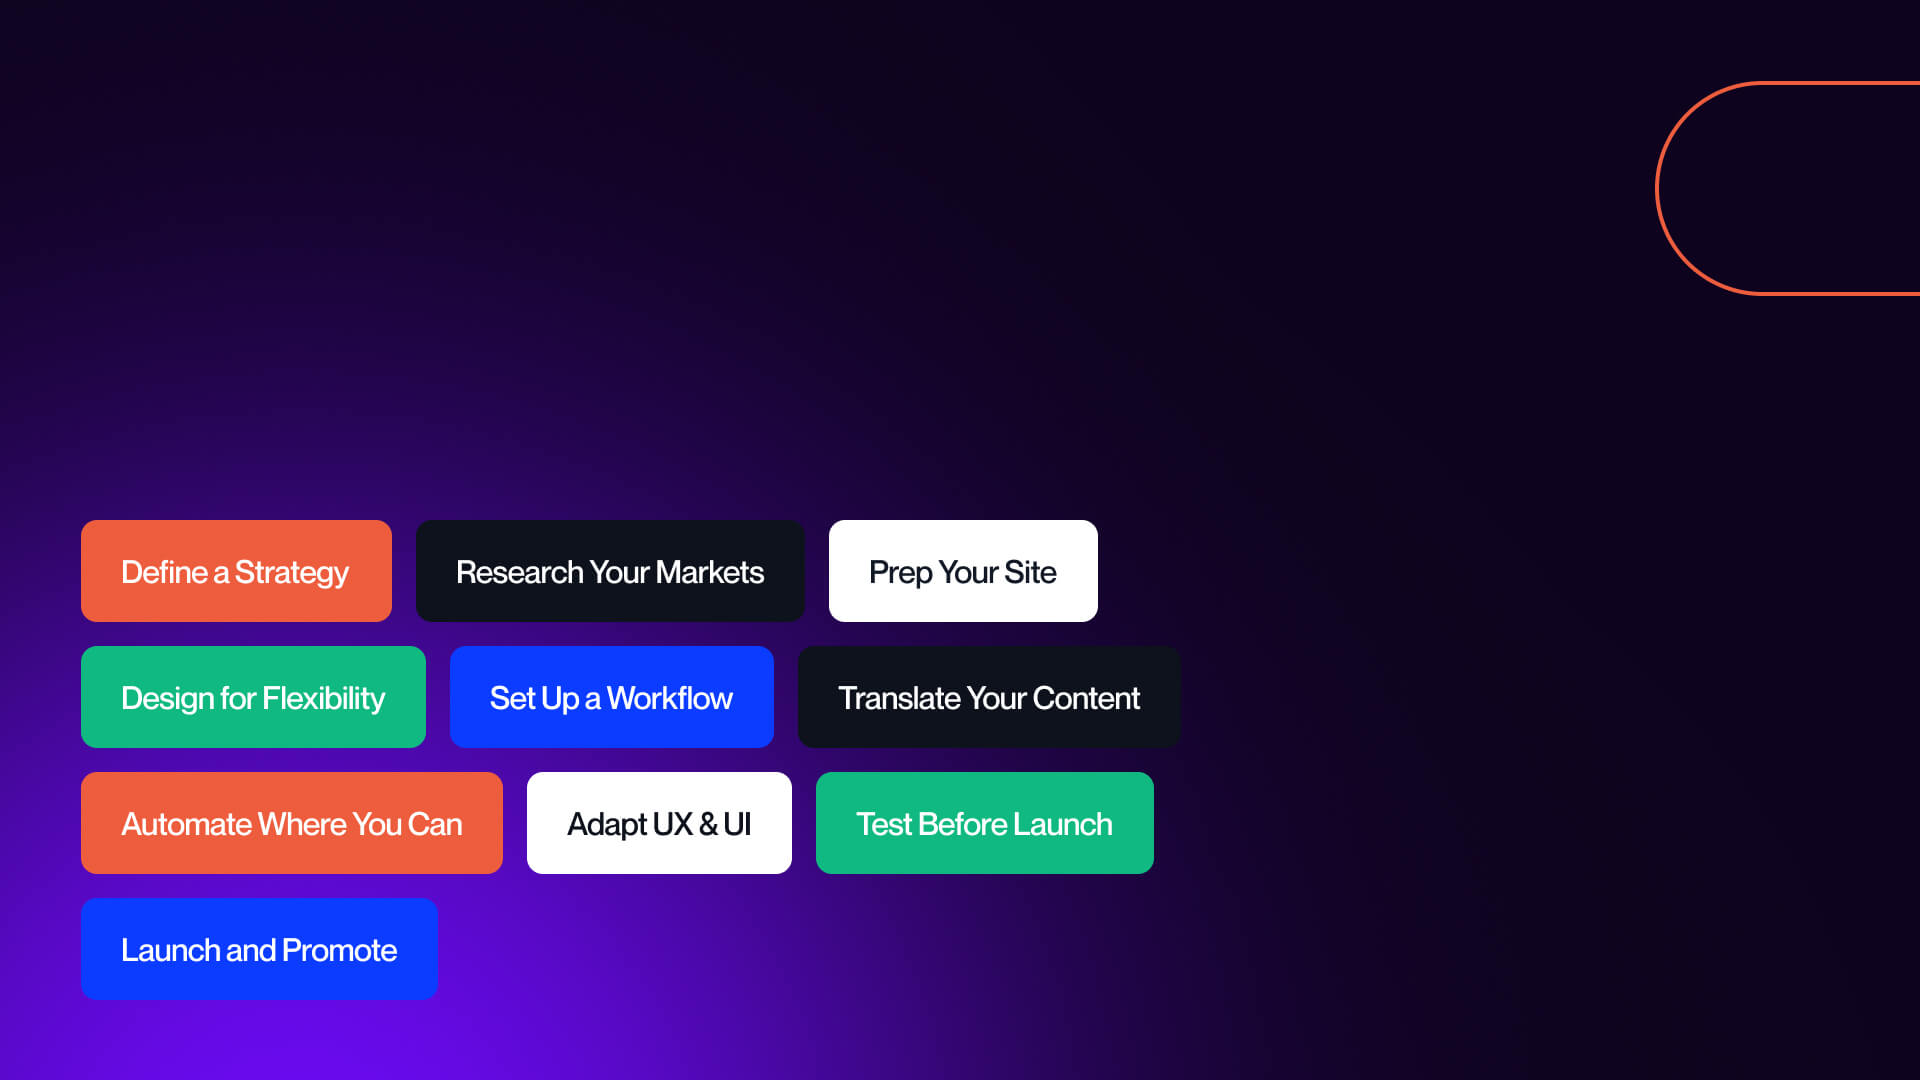
Okay, so you know what localization is, why it matters, and what needs to be localized. Now, let’s get practical.
Here’s a simple, step-by-step process to take your site from “one-size-fits-all” to “built for every market you care about.”
Step 1: Define a Strategy
Before doing anything, figure out why you’re localizing. Are you targeting one country or several? Which ones matter most for your product? Set a budget, timeline, and goals, like more signups, better conversions, or lower bounce rates.
Step 2: Research Your Markets
Don’t guess! Look at your data to see where visitors come from - check language preferences, local payment options, and competitors. Some countries have strict privacy or accessibility rules, so factor that in.
Step 3: Prep Your Site (Internationalization / i18n)
This is the setup work most teams skip. Keep content separate from code so translators don’t have to touch your files. Make sure special characters work, create URLs for each language (like /es or /fr), add an easy-to-find language switcher, and test right-to-left text early so layouts don’t break.
Step 4: Design for Flexibility
Text length changes between languages, English fits differently than German, for example. Use flexible layouts so things don’t break. Avoid embedding text in images unless you can swap them, and keep visuals neutral or easy to change.
Step 5: Set Up a Workflow
Plan how content moves from design to translation to live site. Continuous updates work well if your content changes often. Involve designers, developers, translators, QA testers, and marketers early. Make a style guide to keep messaging consistent and a glossary for key terms.
Step 6: Translate Your Content
Mix methods if needed. Machine translation is fast, human translation is more natural, and AI can help with efficiency. Keep a translation memory so you don’t pay to translate the same text twice.
Step 7: Automate Where You Can
Use a translation management system (TMS) to handle content flow between CMS, translators, and developers. This avoids messy spreadsheets and reduces errors.
Step 8: Adapt UX & UI
Check that buttons, forms, and labels make sense after translation. Adjust addresses, page layouts, and colors so everything works for local users.
Step 9: Test Before Launch
Test links, forms, and checkout flows. Have native speakers check text and tone. Try different screen sizes to catch layout issues.
Step 10: Launch and Promote
Go live and tell your audience. Use local social channels, run regional ads, and gather reviews. Track how people use the localized site and tweak as needed.
Continuous Optimization
Going live isn’t the finish line. It’s just the starting point.
Localization is ongoing work. Track key metrics like conversion rates, time on site, cart abandonment, and support tickets for each region. If a CTA underperforms in one market, test new wording. If users drop off at checkout, review payment methods or translations there.
Webflow Localization: How to Do It Right
Webflow doesn’t have one-click localization, but it’s flexible enough to support multi-language setups if you plan well. This is what you need to know:
- Use CMS Collections to manage each language separately.
- Create subfolders like /es, /fr, or /de so each language has its own URL, good for SEO and easy to manage.
- Add a language switcher that search engines can crawl so all versions get indexed.
- You can add hreflang tags in the page head to tell Google which language each page is.
- For bigger projects, connect Webflow to a TMS like Lokalise or use proxy tools like Weglot or Smartling to automate translations.
- When designing, test with longer words, special characters, or fake text to spot layout problems early.
- Use flexbox or grid with percentages so layouts adjust naturally when text changes length.
Tools & Technology for Website Localization
Good localization isn’t just about people, the right tools make the process faster, cleaner, and easier to scale. They help manage translations, keep quality high, and catch issues before launch.
If you’re running on Webflow, there are plenty of Webflow integrations for marketing that connect directly with TMS platforms, analytics, or payment providers to keep localization running smoothly.
Here are some of the most useful ones:
- TMS platforms: Phrase, Lokalise, Smartling, great for managing big, ongoing projects.
- CAT tools: Save translations and speed up work for translators.
- Machine translation: Fast for bulk content, but review important pages with a human.
- Proxy solutions: Translate content on the fly without touching the source code.
- QA tools: Check for missing translations, broken links, and layout problems before going live.
If you're unsure how to do this on your own, consider turning to an agency specializing in Webflow integration.
Common Website Localization Mistakes to Avoid
- Translating literally without considering cultural meaning.
- Forgetting hreflang tags, so search engines show the wrong version.
- Hardcoding text in code, which makes updates slow and expensive.
- Skipping reviews by native speakers.
- Launching without testing on real devices or browsers.
Conclusion
A well-localized site simply makes life easier for your visitors. It clears up confusion, helps them trust your brand, and makes it easier for them to buy what they came for, all without you rebuilding your site from scratch.
Start with a solid plan, keep your design flexible, and keep checking real user feedback. Localization isn’t a one-time job, it’s ongoing work that pays off every time someone chooses to stay instead of closing the tab.
FAQ Section
What’s the difference between website translation and localization?
Translation is about language. Localization covers language, design, flow, and everything else that shapes user experience.
When should I think about localization, before or after launch?
Start planning for localization right from the beginning. Internationalizing during development is cheaper than retrofitting later.
How much does website localization cost?
It depends on content volume, number of languages, and whether you use human translation or machine translation. TMS tools help control costs by reusing translations.
Do I need a different site for each country?
Usually not. Subdirectories with hreflang tags work well for most teams.
How do I manage SEO for multiple languages?
Use localized keywords, unique URLs for each language, and hreflang tags so search engines know which version to show.
What’s the best CMS for localization?
WordPress, Webflow, Contentful, and other modern CMSs all support localization, but some require plugins or external tools for automation.
How do I handle RTL languages like Arabic or Hebrew?
Design with flexible layouts and test RTL text early. Make sure UI flips properly.
Can AI translation replace human translation?
AI speeds things up, but human review is still key for nuance, brand voice, and legal pages.
How long does website localization take?
Small sites can be done in weeks. Larger sites or multiple languages may take months, especially if you need design changes.
What KPIs should I track?
Conversions, traffic from target regions, bounce rate, cart abandonment, and support tickets can show whether localization is working.
Veza Digital Helps You With Localization
If you’re using Webflow and want to make localization part of your setup, we can help. Reach out to our Webflow agency if you’re ready to make localization work without turning your website into a headache.
